Materials:
fabric
Lining, such as flannel or fleece
Velcro or button
Embellishments

1. Tape the flap pattern piece to the body piece and place on the fold of your fabric. The front piece does not need a flap, so you can cut that off of the front and leave it only on the back. It should look like this:
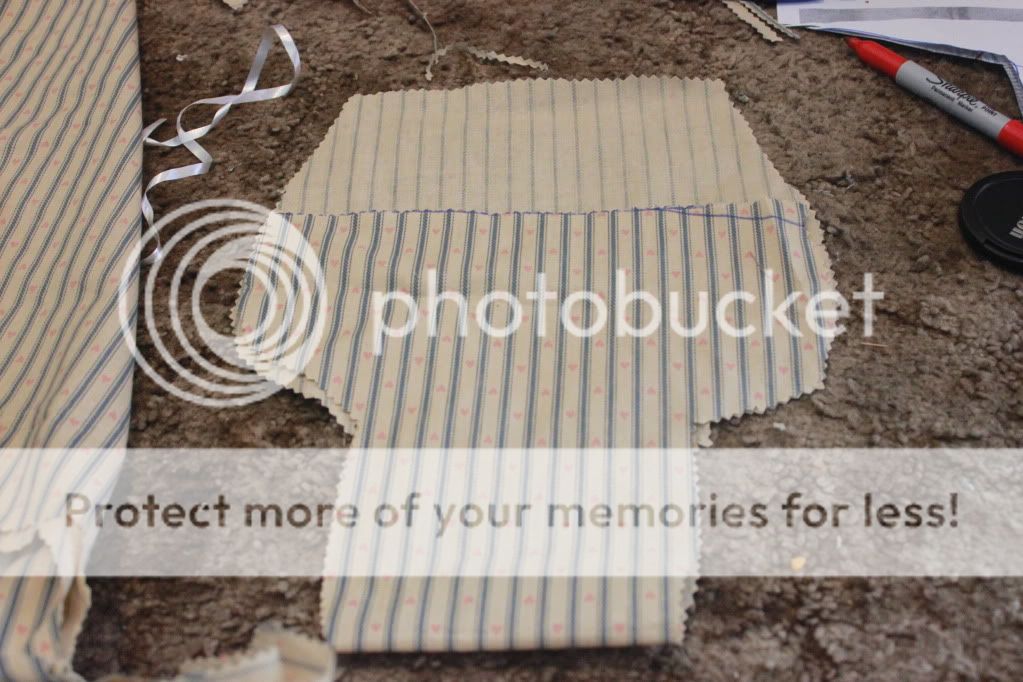
Do the same with your lining. (The picture above is my scrap fabric:)
2.Sew the top of the front body piece to the same of the lining, wrong sides together. (Yes, this picture shows the lining already sewed together; I forgot to take a picture of the cozy before doing that step.)

3. Next, sew around the pieces, as you can see in the picture above.The lining and outside fabric will only be attached by that middle seam; you will have two different "pockets", like you can see in the next two pictures.
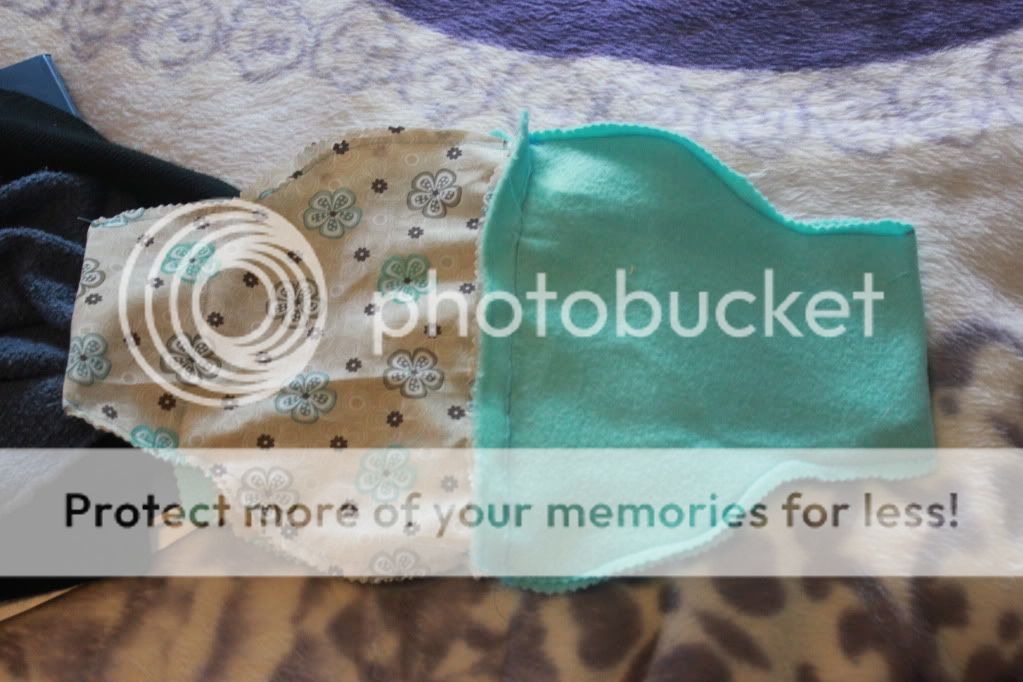
The piece that I'm holding in this picture is the sewn-together outside pocket.

4. Lay your fabric like the picture above and below, and sew the flaps of the lining and the outer fabric together, except for the top seam, which you will close later.

5. Pull the body pieces out through the top of the flap. It's pretty easy to see how they fit together.

You should put your camera in at this point and see if there is anything you want to modify. If there is, just push it back through the flap neck and then pull it out again when you're finished. When you're satisfied, fold in enough of the flap for a seam allowance and handstitch or top stitch closed. Add a button and buttonhole or a large piece of velcro to close, and embellish as you like!
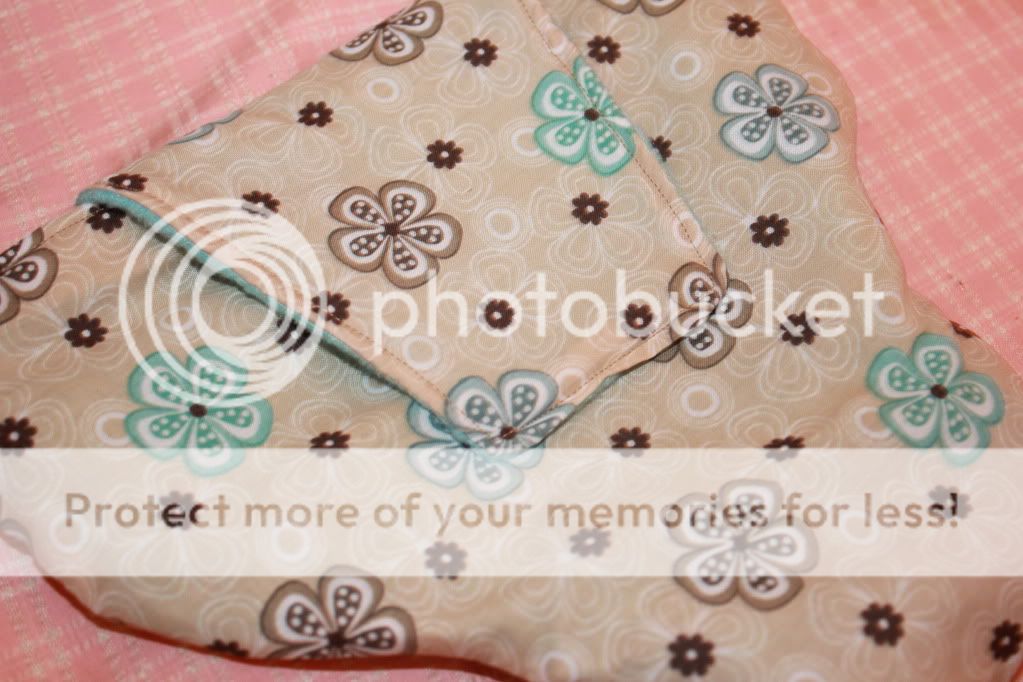
I modified the flap on this, but I really wish I hadn't. It just doesn't fit my camera as well. The next one I make I'm going to stick to my pattern....mostly. =)
And...the finished product! I'm very happy with it! It keeps my camera protected, without the need to carry a big camera bag around all the time. (Since I can't afford an amazing Jo Tote! =) It's very nice for just tossing in my purse or the children's wagon or wherever!


I'd like to add a pocket on the inside of my next one for my phone and some cash, as well as some kind of strap so that I can just hang it on my wrist or my neck or something while I use the camera. If you'd like to add a pocket, I'd recommend doing it before step 3. I'll let ya'll know how that goes! =)
I hope this is helpful! If you have any questions or if you make one successfully(or unsuccessfully!=) do let me know!
I hope this is helpful! If you have any questions or if you make one successfully(or unsuccessfully!=) do let me know!
Good for you--way to be creative and resourceful!
ReplyDeleteThis ROCKS! I have been drooling over the adorable Camera Coats for a while now, knowing full well I could probably make one myself- just wasn't sure exactly how. This is exactly what I have been looking for! Awesome job! Thank you for the inspiration!
ReplyDeleteGlad I could help Melissa! I'd love to see your finished project! =)
DeleteThanks. I whipped one up last night so I can finally carry around my camera in my diaper bag.
ReplyDeleteHere's mine. http://www.flickr.com/photos/59701738@N03/8215435535/ I did an outer layer with PUL added then an inner layer with batting on the back. I also widened the lens pocket as well as the flap. I found that when I sewed the fabrics together on step 2 that they needed to be RIGHT sides facing rather than wrong sides. I also added a loop to attach it to my camera strap as well as a pocket on the inside. I added velcro as well. You can see I kind of did a funky job on that because I didn't think to add it until right before I sewed the top shut. I didn't want the stitching to show through so it was a challenge.
ReplyDeleteI love it Melissa! Thanks for sharing! Cute chevrons! =)
Delete